
Gatemaster | Hydraulic gate closer with stop hinge | to weld on
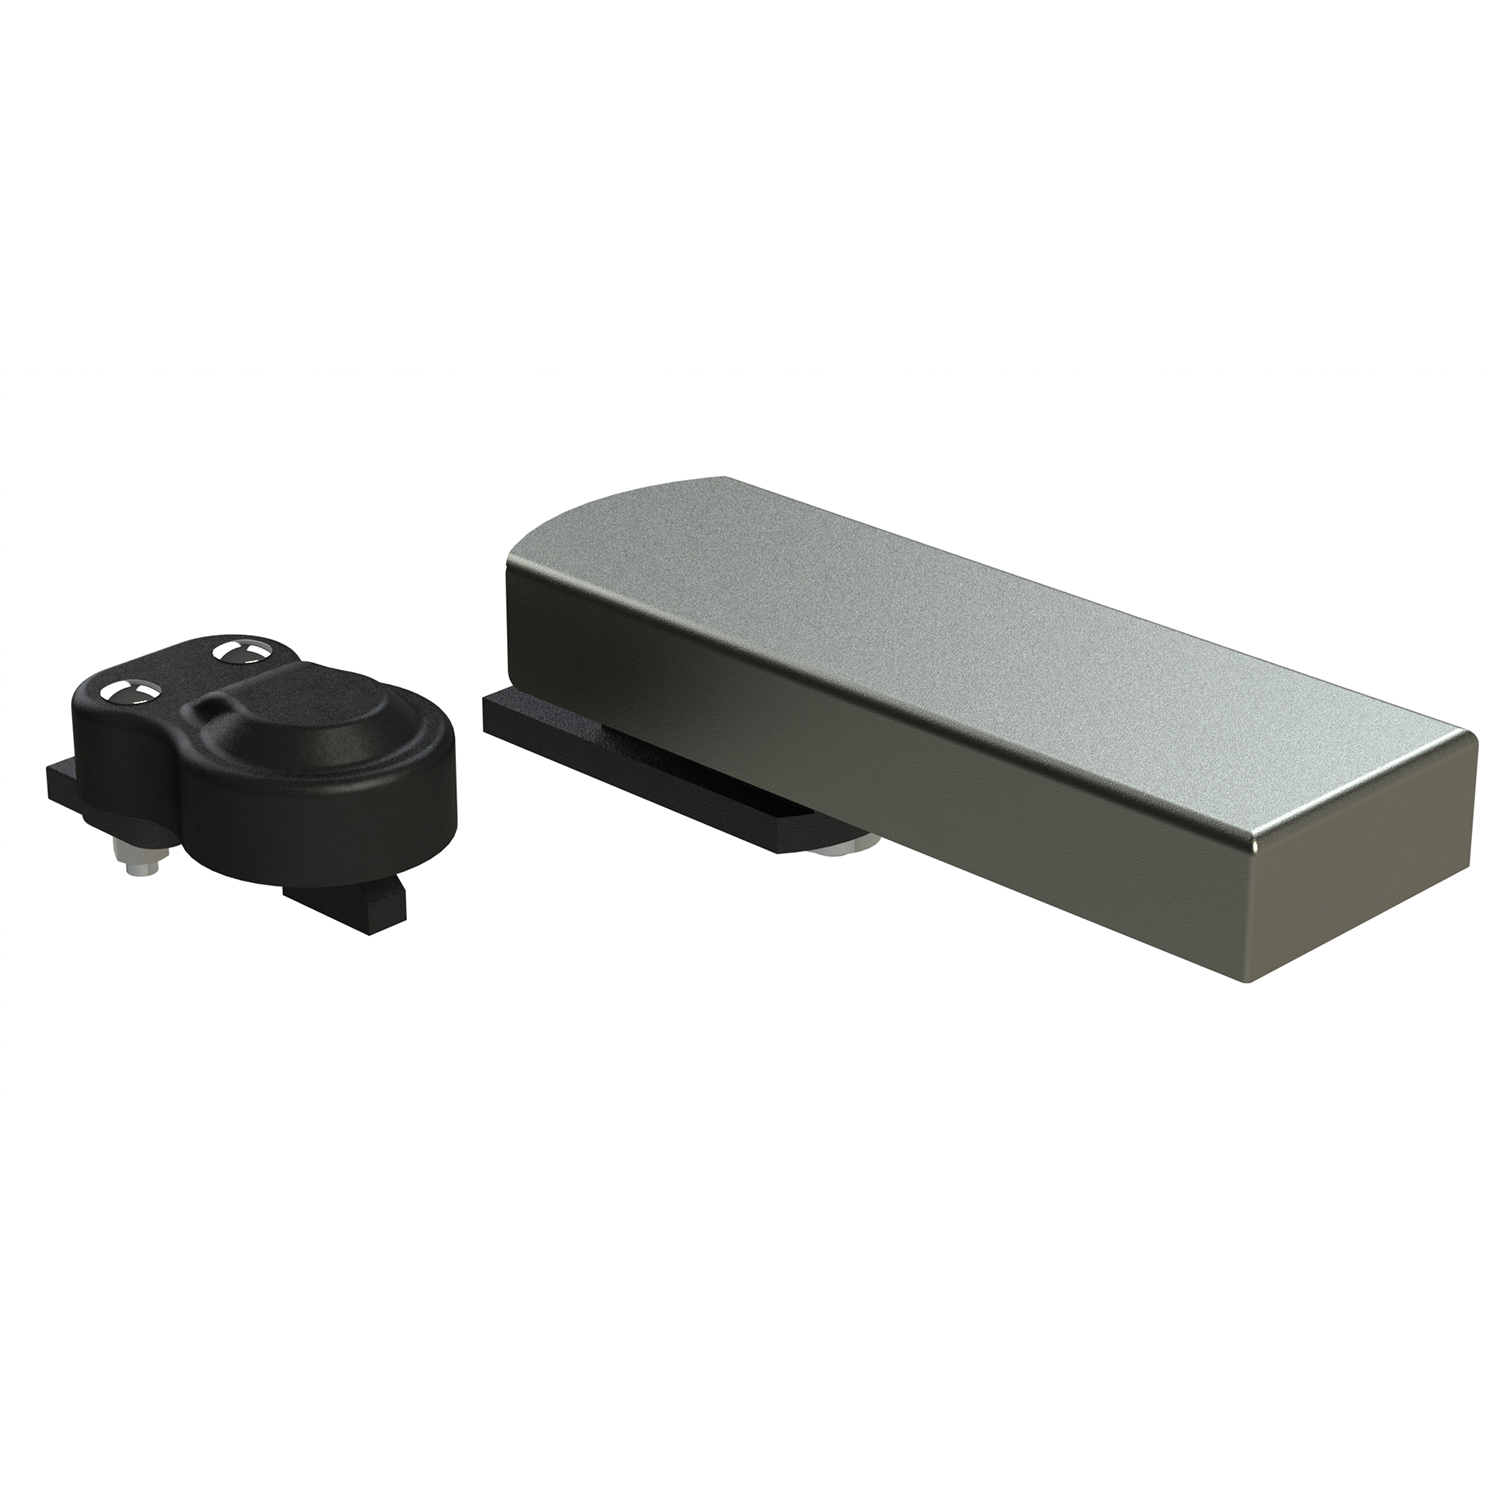
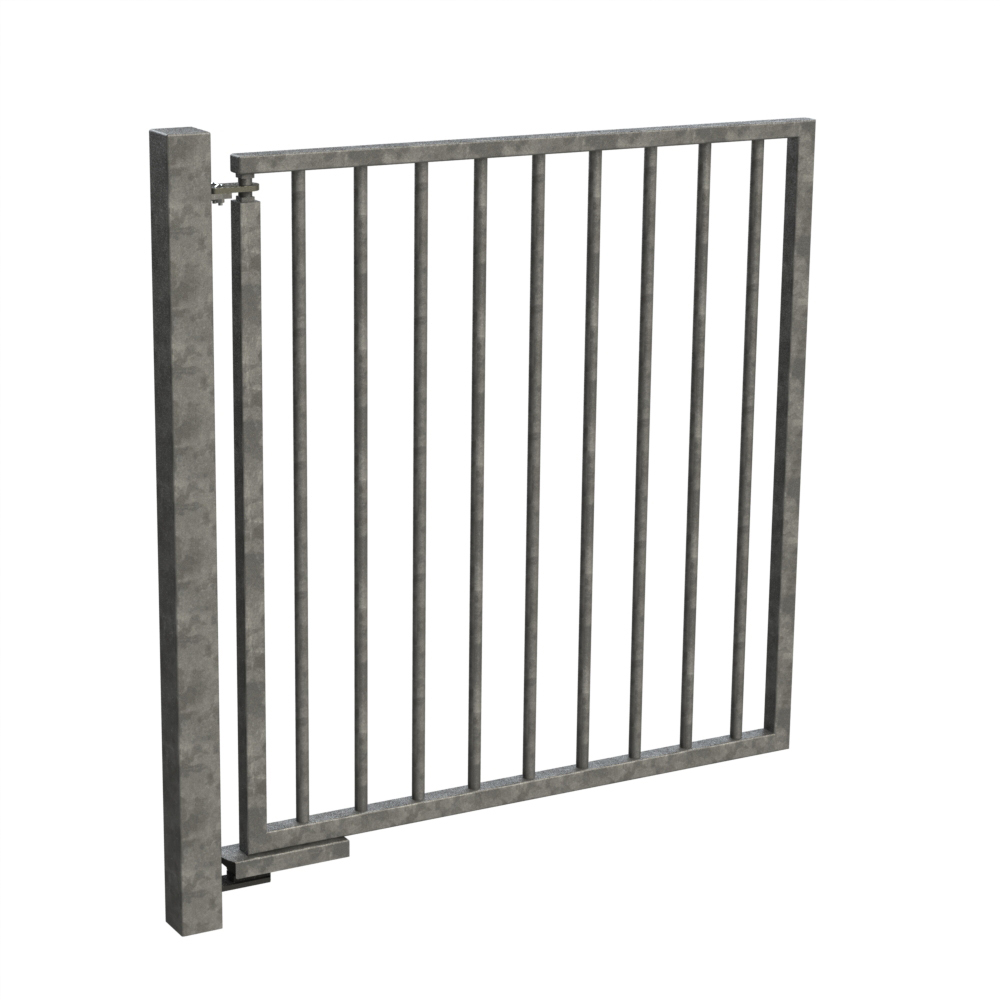
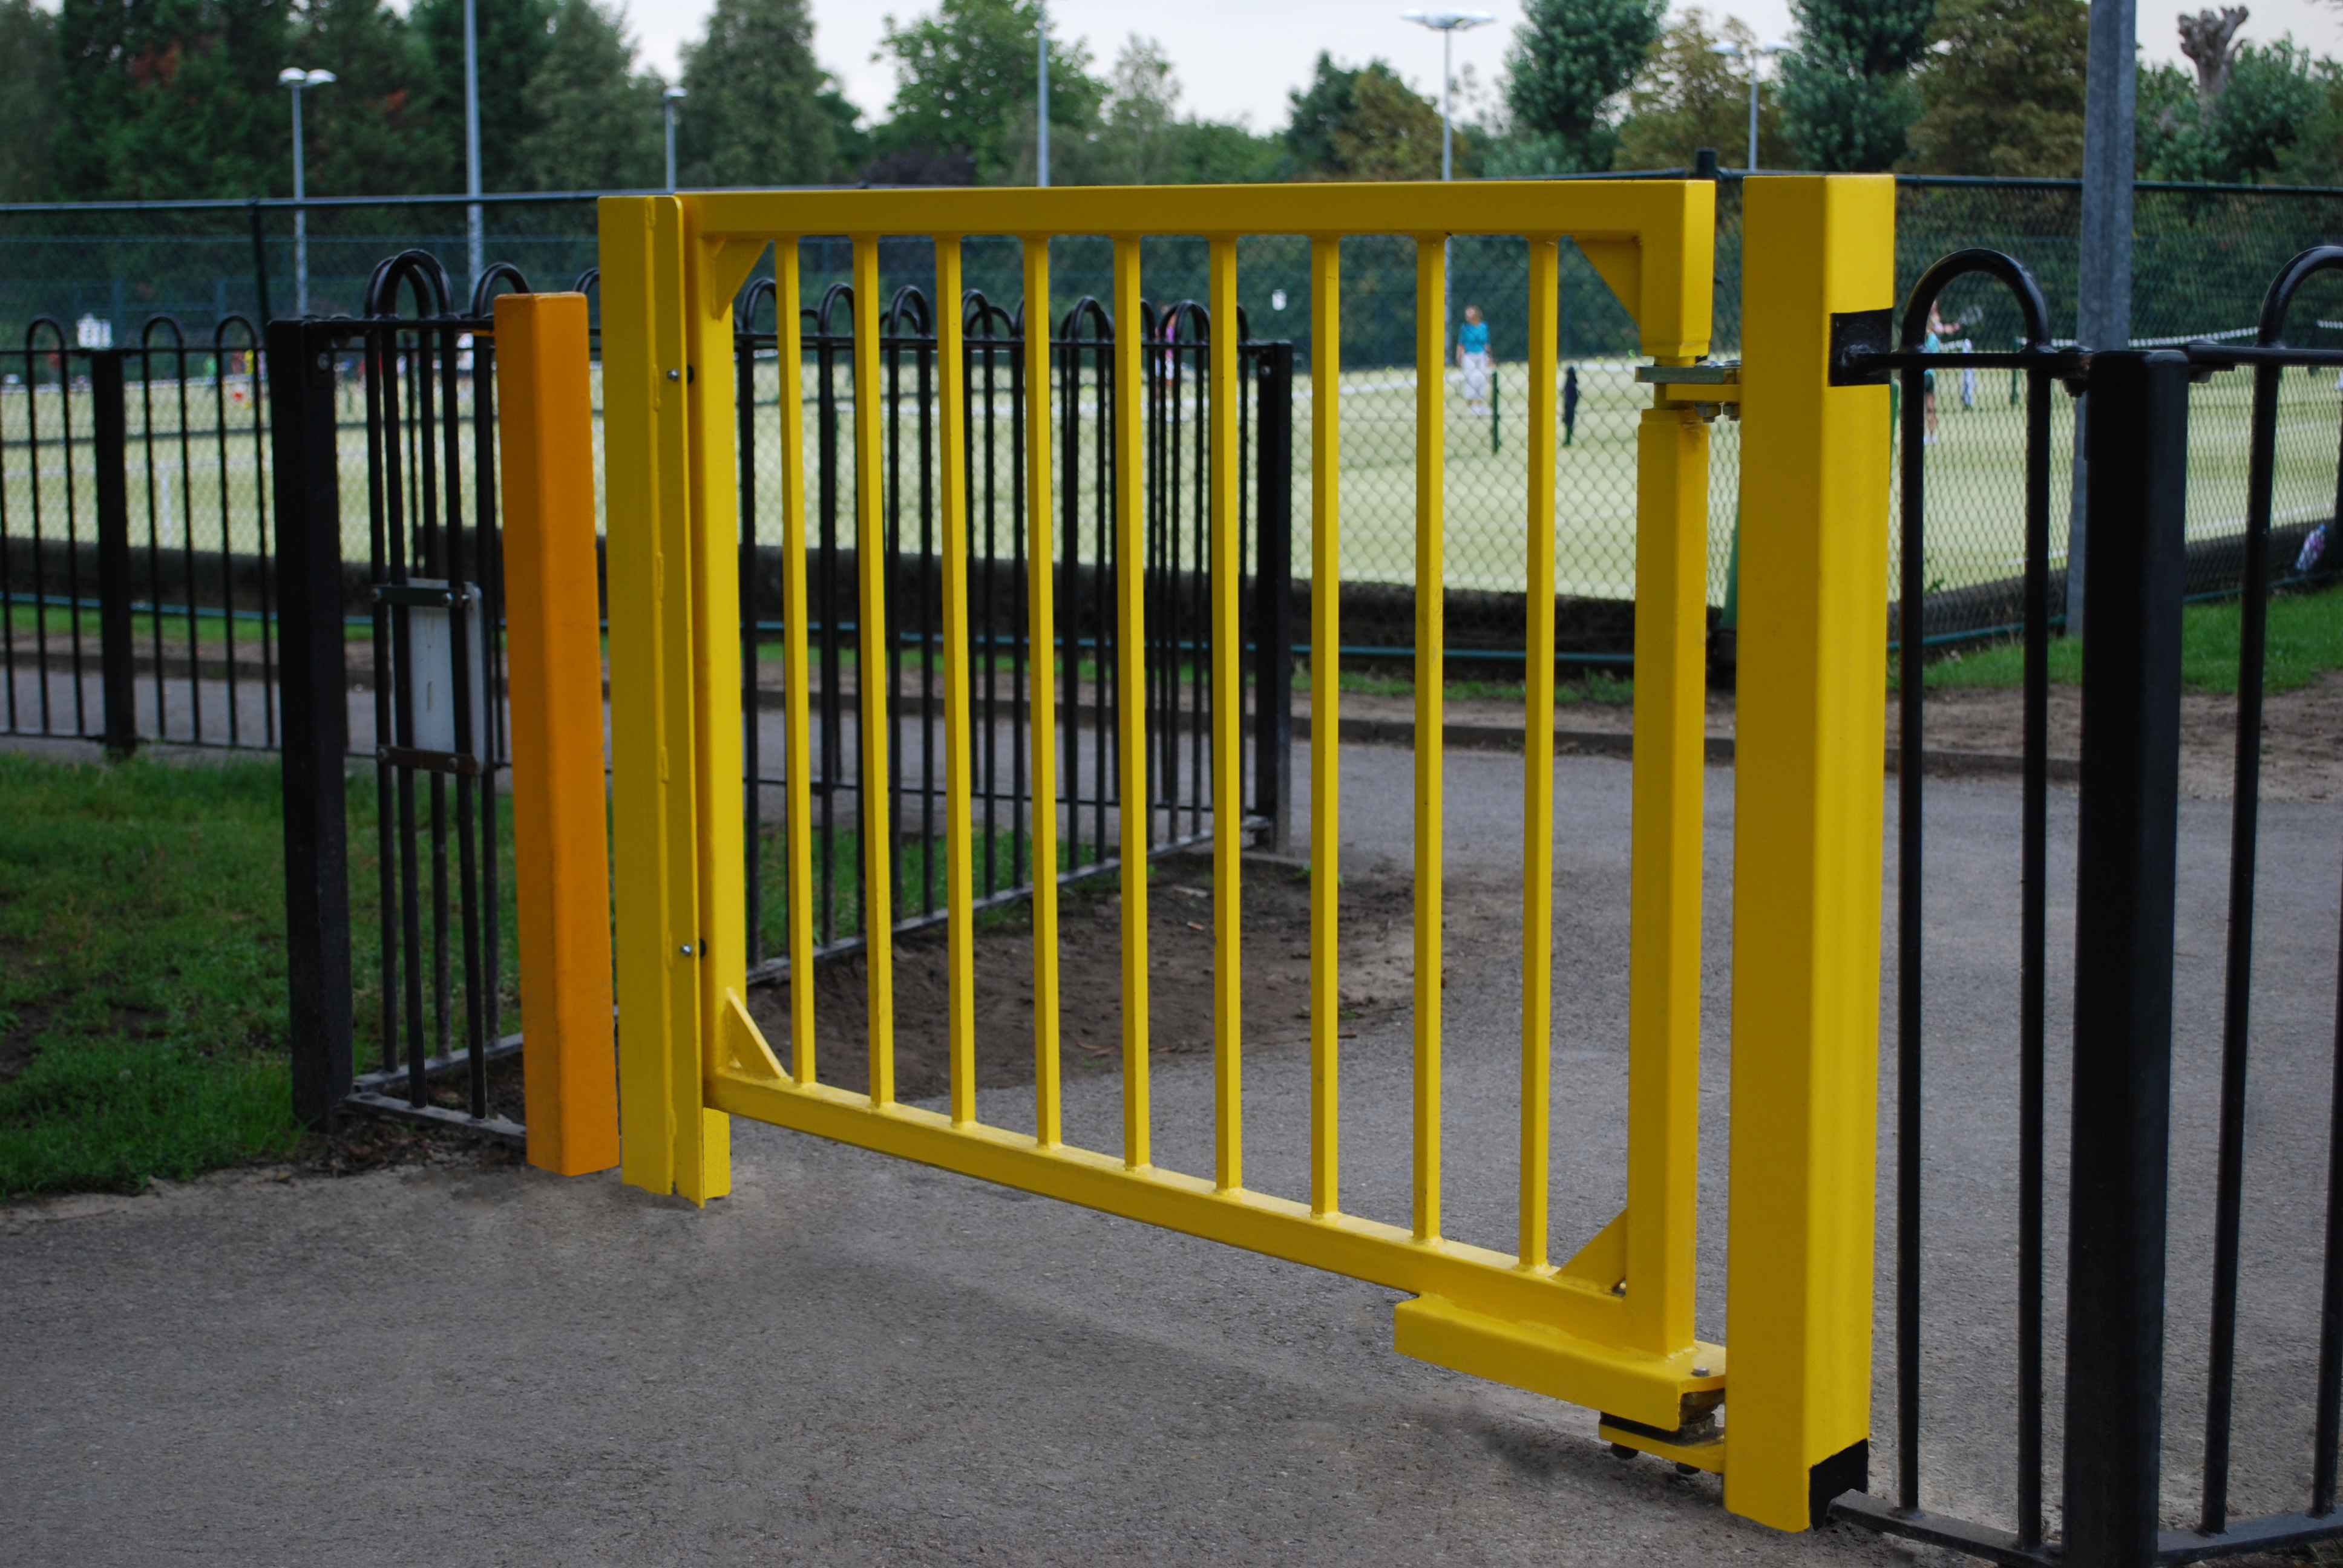
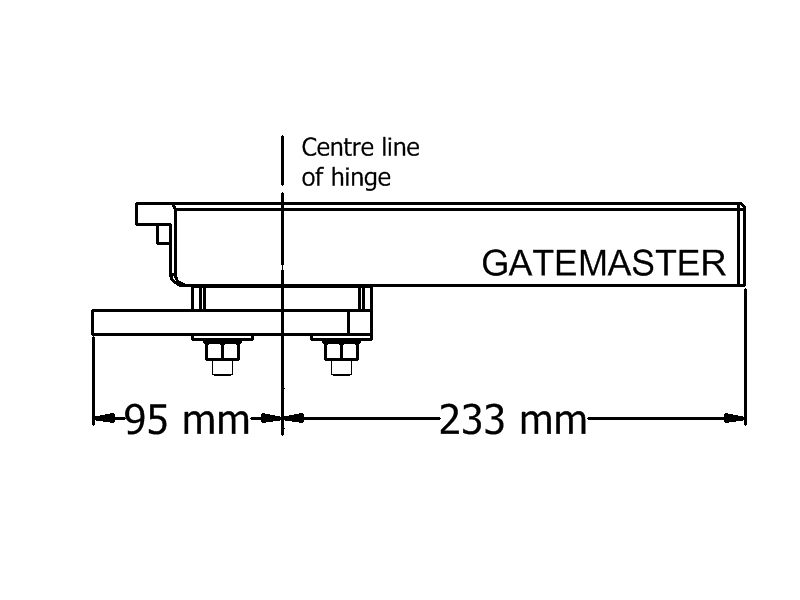
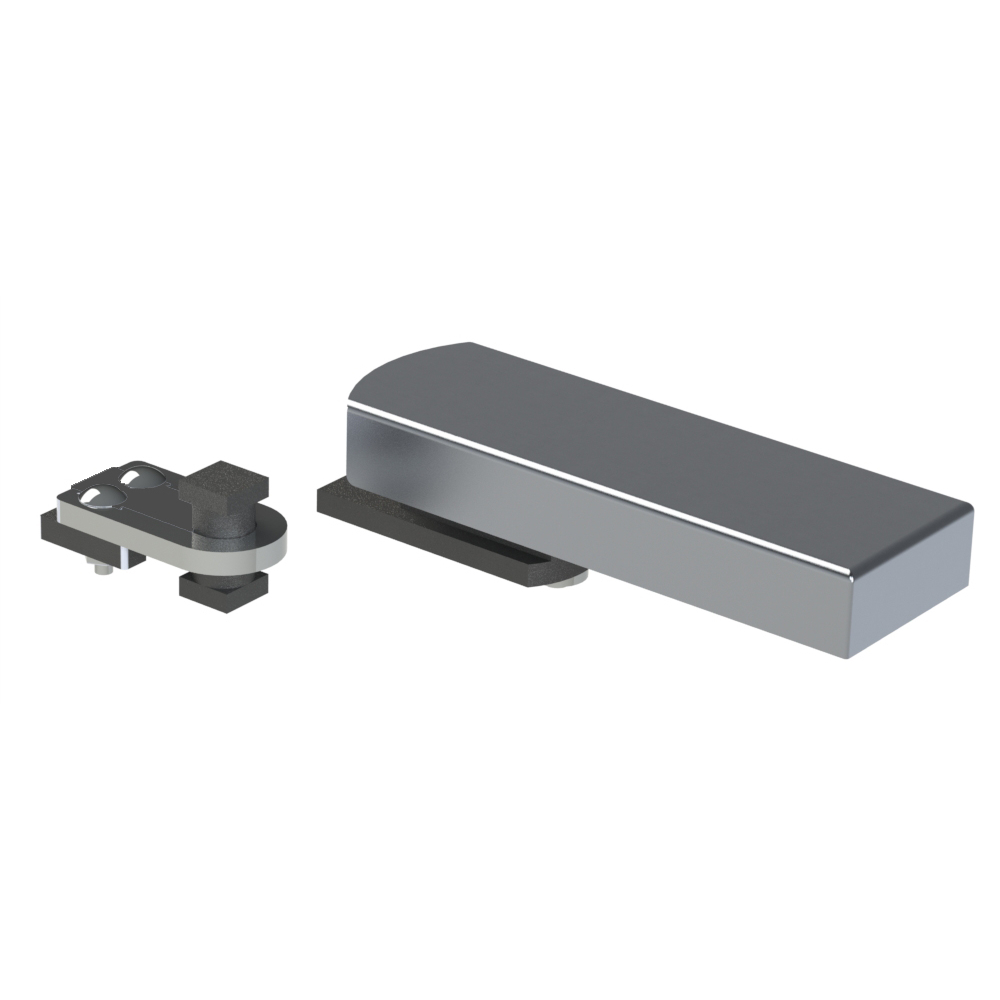
This hydraulically controlled gate closer and top hinge kit has been developed using a proven mechanism to provide safe and reliable gate closing. This makes it perfect for use on playground and school gates where closing speed adjustment is required.
Key features
- Robust - The closing unit fits underneath the gate making it vandal resistant
- Strong - Can be used to reliably close gates up to 331 lbs
- Easy to install - As it is a hydraulic closer, no power is needed
This hydraulically controlled gate closer and top hinge kit has been developed using a proven mechanism to provide safe and reliable gate closing. This makes it perfect for use on playground and school gates where closing speed adjustment is required.
The APS closer is a self-centering unit which can rotate 100˚ both ways. It is important to ensure when installing the gate post that the bottom welded bracket ends up dead in line with the receiving post or even slightly angled beyond the centreline. This ensures that the gate will definitely close to the centreline and not stop at a slightly open position. If using the standard APS closer, please ensure that a separate gate stop is fitted to prevent the gate being opened more than 100˚.
- Unobtrusive - The closer also acts as a load bearing lower hinge
- Adjustable - A top hinge assembly which is fully adjustable to enable the gate to be positioned correctly after installation
- Option on top hinges - Built in standard hinge or with built in stop to prevent the gate opening more than 90° and damaging the closer
Watch the video
Specifications
| Brand | Gatemaster |
| Manufacturer | Gatemaster |
| Weight | 11 lb |
Installation
- 1Take the closer out of the steel case and weld the case to the underside of the gate, making sure the closer pivot ends up vertically in line with the top hinge spigot.
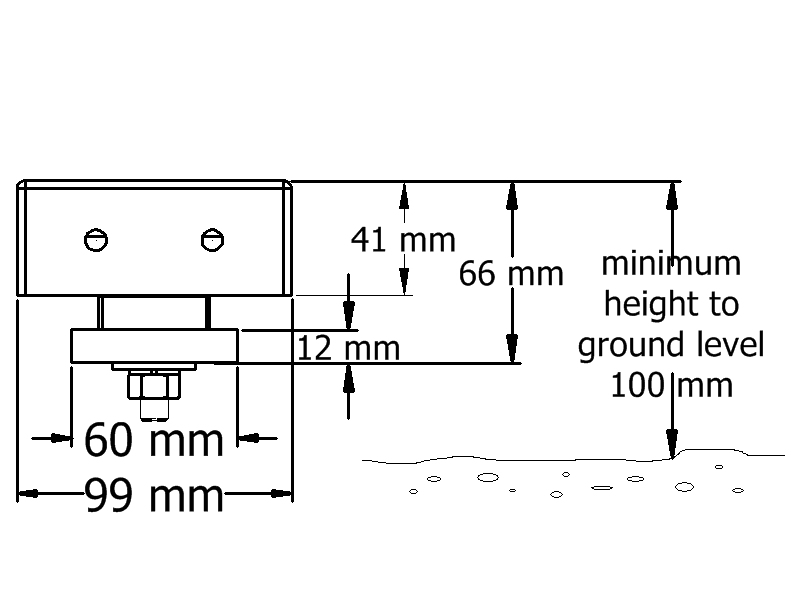
- 2Take the two self-color post brackets off and weld them to the gate post. Leave enough clearance between the closer and the finished ground level to adjust the speed control valves with the key supplied. Build the top hinge spigot into the gate frame near the top.
Related products
Frequently asked questions
Will it survive outdoors all year?
It is built for it. The bodies are pressure die-cast and powder-coated, latchbolts are stainless steel and the keypads are marine grade, so salt air and rain are not a problem. Follow the maintenance schedule on this page - a spray of light oil a few times a year is what keeps a gate lock feeling new after a decade outside.
What warranty comes with this product?
Gatemaster gives a 5-year warranty on the Superlock 2.0 range and a manufacturer's warranty on the rest of the program, covering defects in material and workmanship. Keep your invoice: that is the proof of purchase a claim is assessed on. Damage from forcing, from the wrong installation or from missed maintenance is not covered - which is why the maintenance schedule on this page is worth following.
Is this in stock and how fast can I get it?
Gatemaster hardware is part of our standard program, so the common versions ship from stock. If you need a quantity for a project, or you are not sure which version fits your gate, ask us for a quote - we will check the frame size and handing with you before anything is picked.
Do I have to weld this in before galvanising or painting?
Yes, and that is the point of a weld-in lock: the case becomes part of the gate, so there is no visible fixing to attack. Weld the case into the frame first, then galvanise or paint the gate as a whole, and only fit the lock internals and the cylinder once the finish is dry.
How do I set the closing speed?
With the two adjustment valves on the closer. The valve nearest the hinge controls the main closing speed; the one furthest away controls the final latching speed, so the gate does not slam into the keep. Adjust them with the key supplied, a quarter turn at a time, and test after each change with the gate at full swing.
How heavy a gate will this hinge carry?
The Superhinge is sized by its thread: the heavier the gate, the larger the thread you choose. Work from the finished weight of the leaf including infill and any cladding, not the frame alone, and use two hinges as a minimum. On tall or clad gates a third hinge spreads the load and keeps the gate from dropping over time.
Still have questions? Call us at 214 878 1900